How to Prepare Your Bathroom for an Acrylic Bathtub Installation
Understanding the Basics of Acrylic Bathtub Installation
Installing an acrylic bathtub can transform your bathroom into a luxurious retreat. Before you begin, it's essential to understand the basics of the installation process. Acrylic bathtubs are known for their durability, lightweight nature, and aesthetic appeal. Preparing your bathroom correctly ensures that the installation process goes smoothly and efficiently.
Proper preparation not only saves time but also prevents potential issues that might arise during the installation. Make sure to gather all necessary tools and materials before you start the process. This includes plumbing tools, a level, and sealant, among others.

Measuring and Planning Your Space
The first step in preparing your bathroom is measuring the available space accurately. This ensures that the new acrylic bathtub will fit perfectly without any issues. Take into account the dimensions of the bathtub and compare it with the existing space. Consider the placement of plumbing fixtures and any additional features you might want to include, such as a shower.
Planning the layout in advance allows you to visualize the end result and make necessary adjustments. Sketch a rough layout of your bathroom, including the position of the bathtub, to help guide you through the installation process.
Removing the Old Bathtub
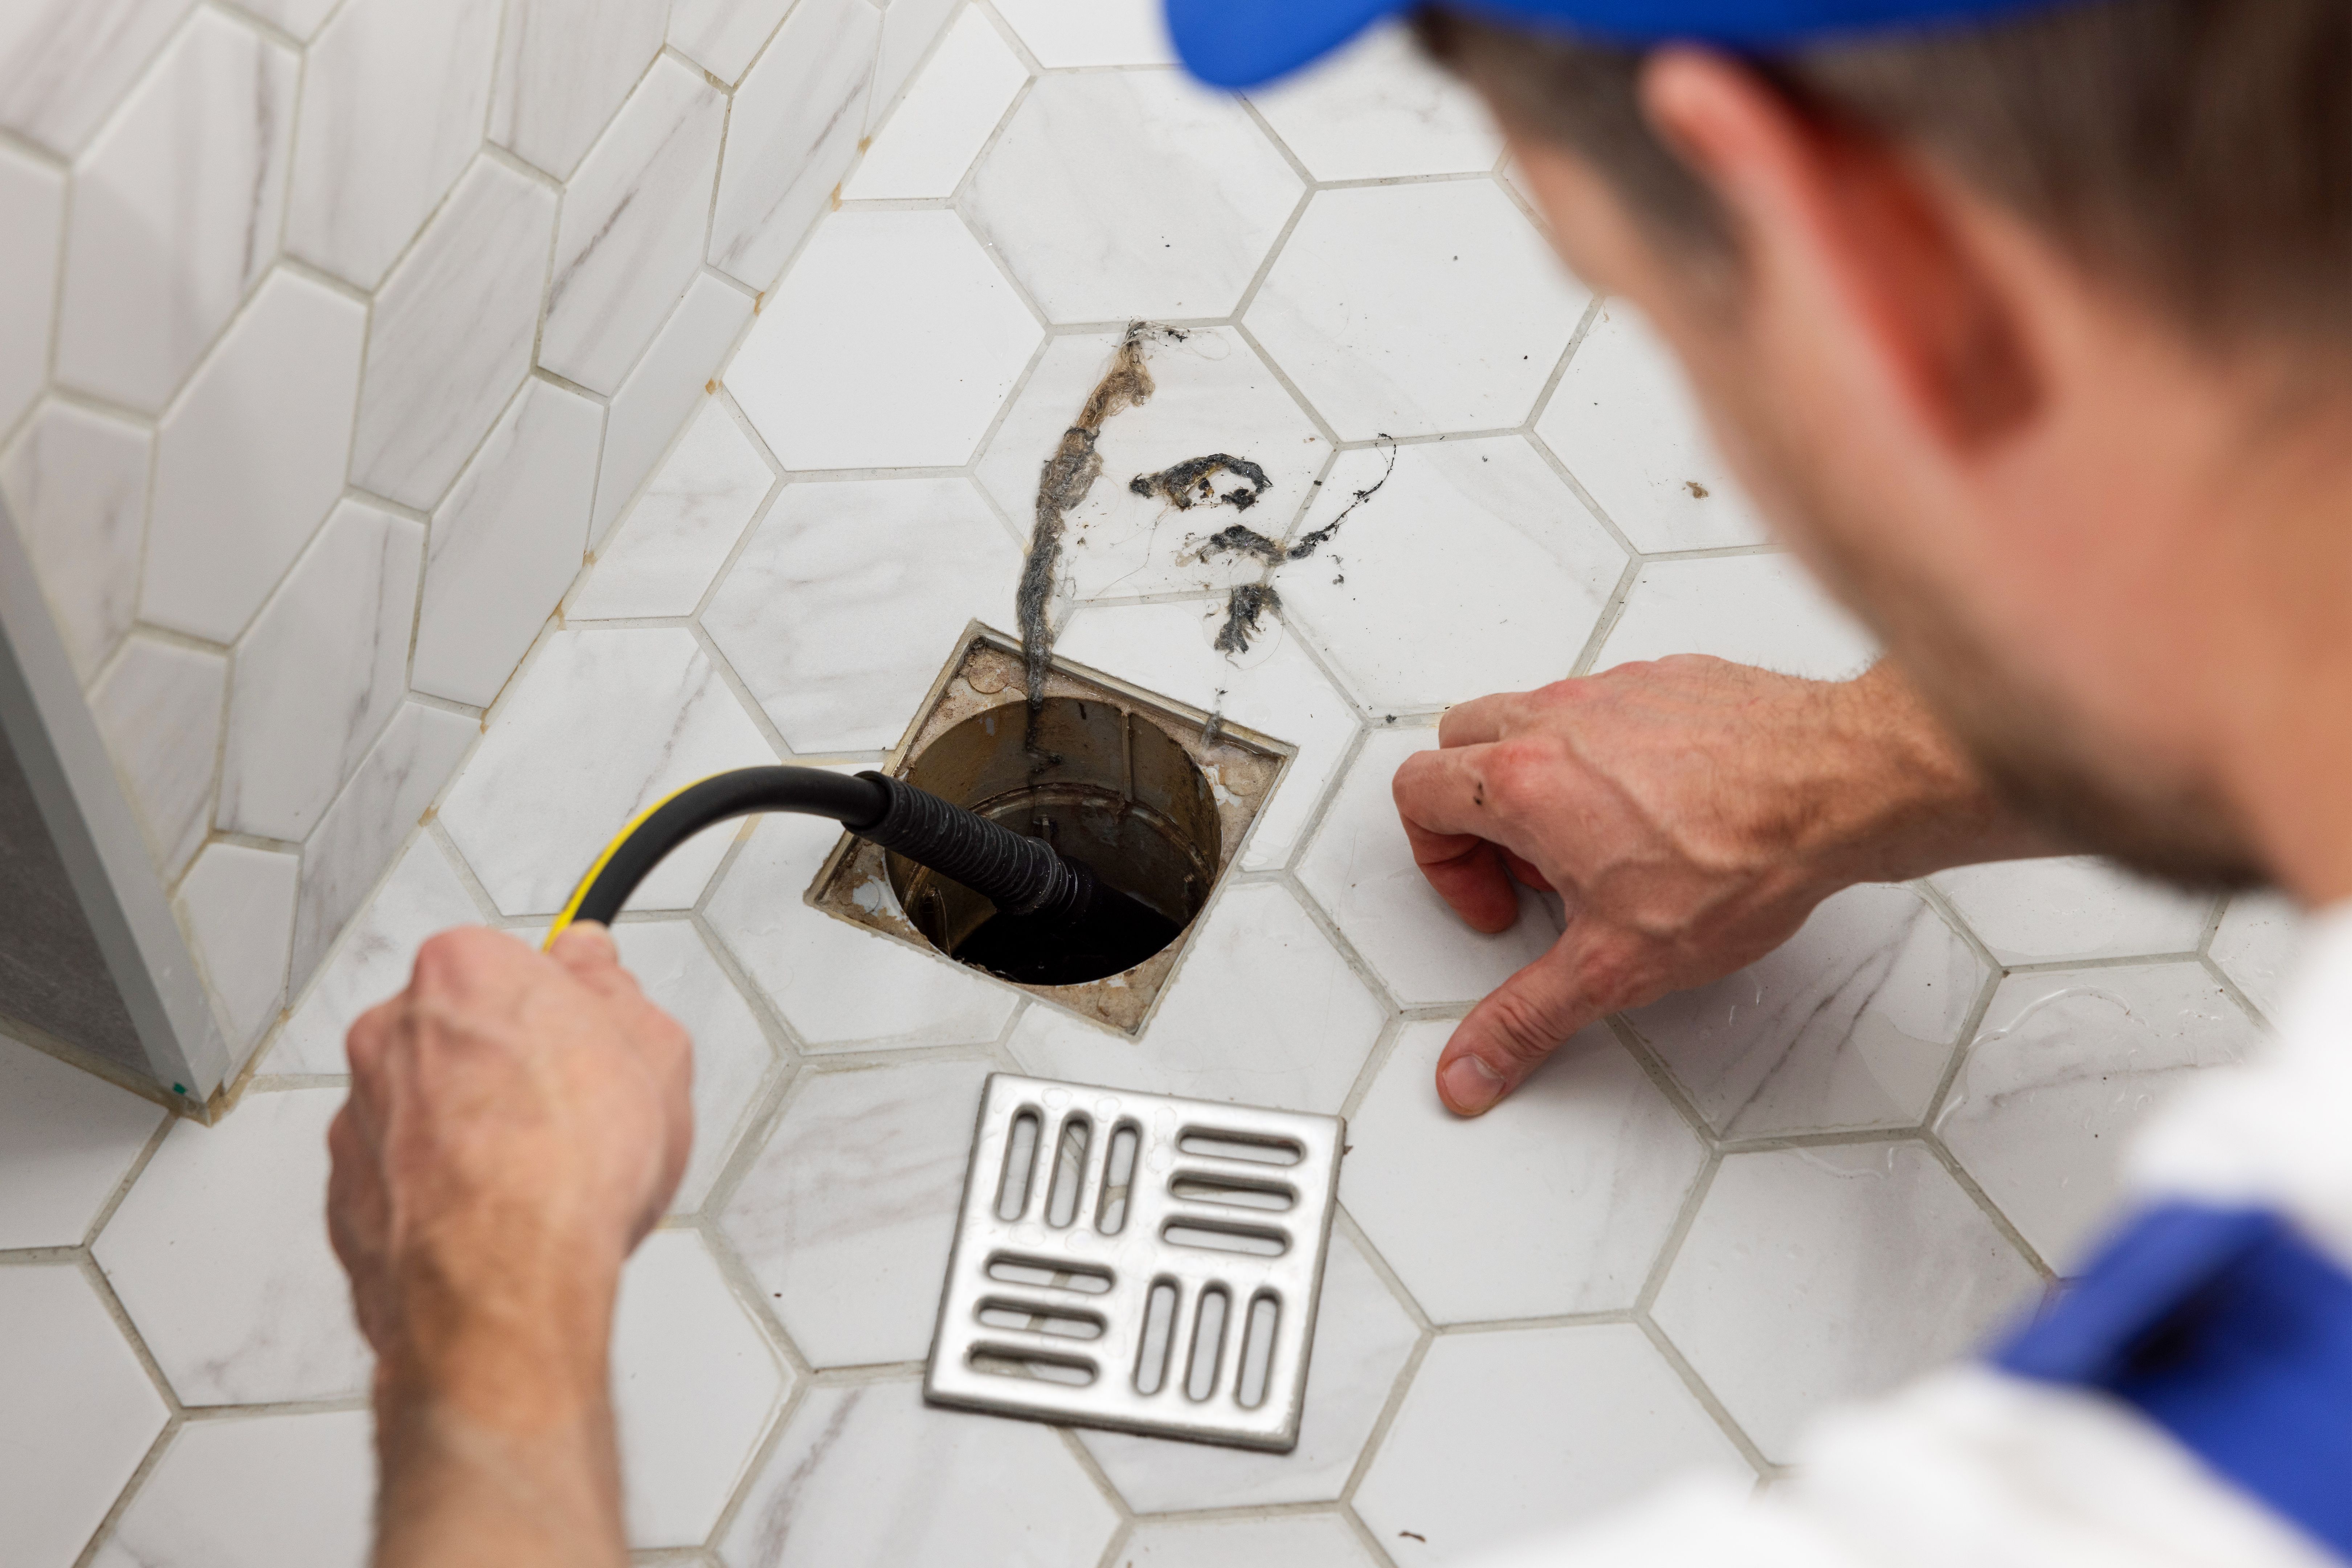
Before installing the new acrylic bathtub, the old one must be removed. This can be a labor-intensive process, so it’s important to proceed carefully. Start by turning off the water supply to prevent any leaks or flooding. Drain any remaining water from the existing tub and disconnect the plumbing fixtures.
Carefully remove the old bathtub, ensuring that you do not damage the surrounding tiles or flooring. If necessary, seek professional help to avoid any mistakes that could lead to costly repairs.
Preparing the Bathroom Surface
With the old bathtub removed, inspect the bathroom surface for any damages. Repair any cracks or holes in the flooring or walls to create a stable base for the new acrylic tub. This step is crucial as it ensures the longevity and stability of your new installation.
For added protection, consider applying a waterproof membrane to the walls and floor. This will safeguard against water damage and enhance the durability of your bathroom space.
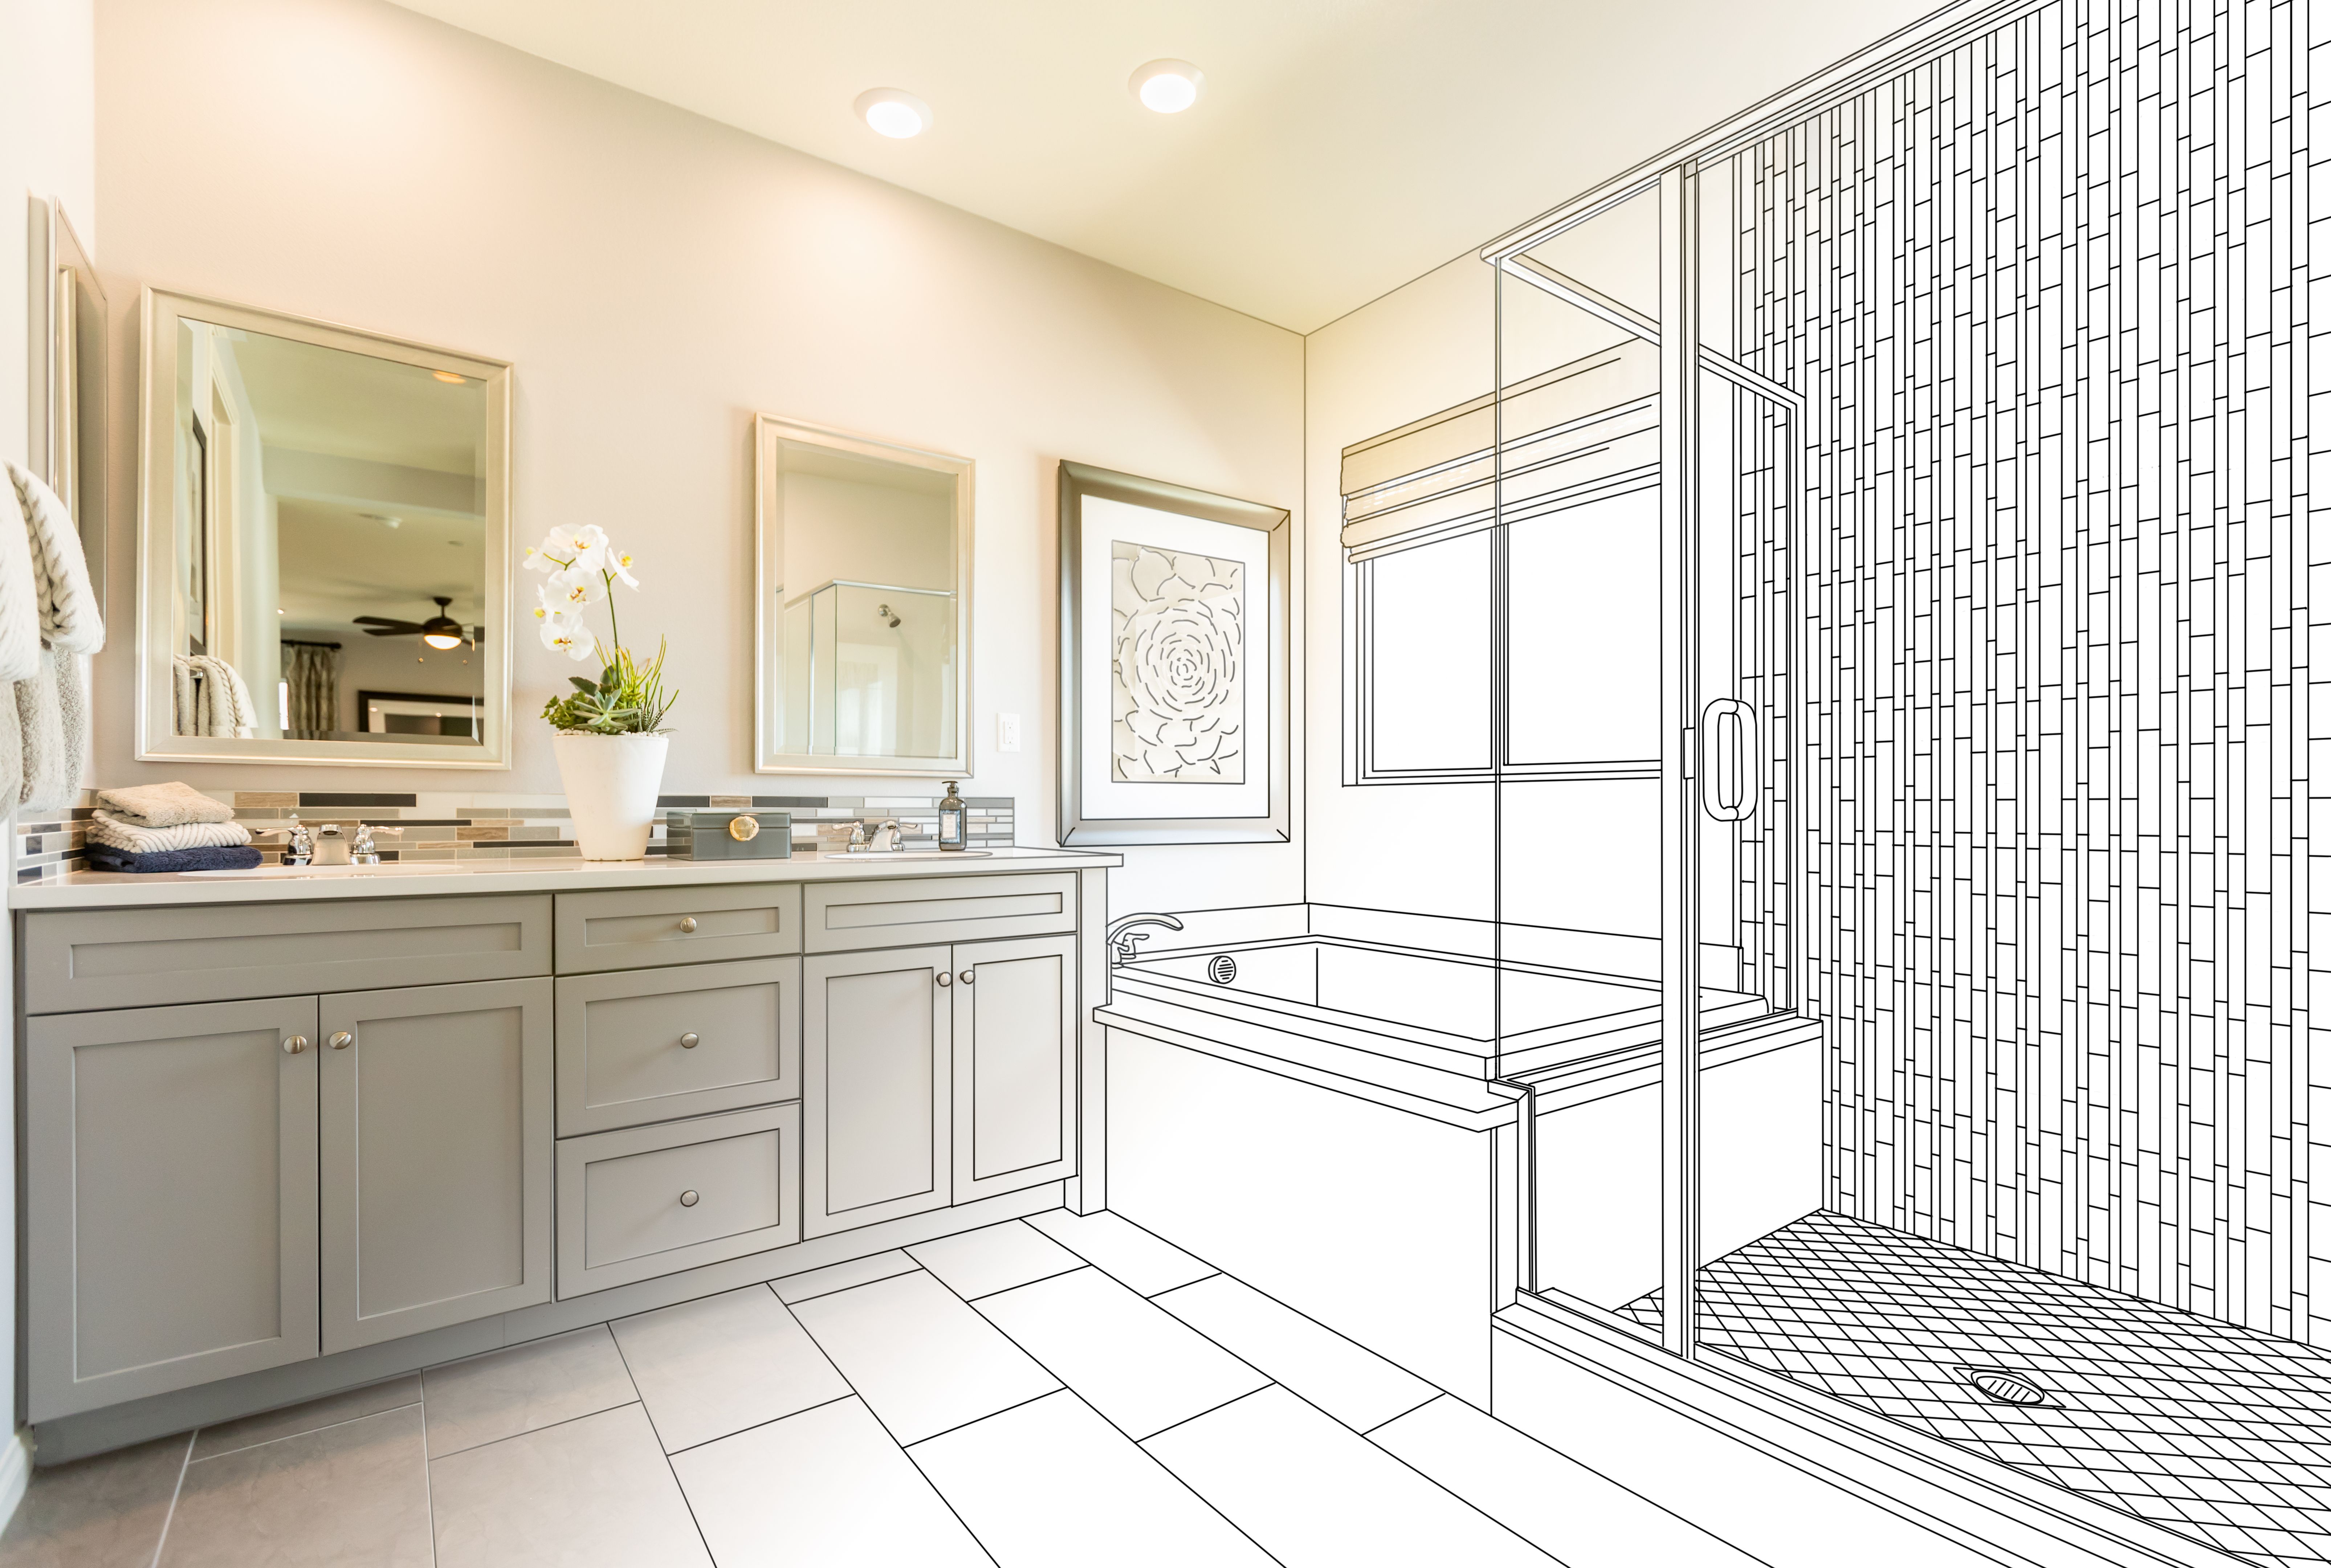
Installing the Acrylic Bathtub
Once the bathroom surface is prepared, you can proceed with installing the new acrylic bathtub. Carefully position the tub in place, ensuring it is level and secure. Connect the plumbing fixtures as per the manufacturer's instructions, and check for any potential leaks.
After securing the bathtub, apply sealant around the edges to prevent water seepage. Allow the sealant to dry completely before using the bathtub to ensure a watertight finish.
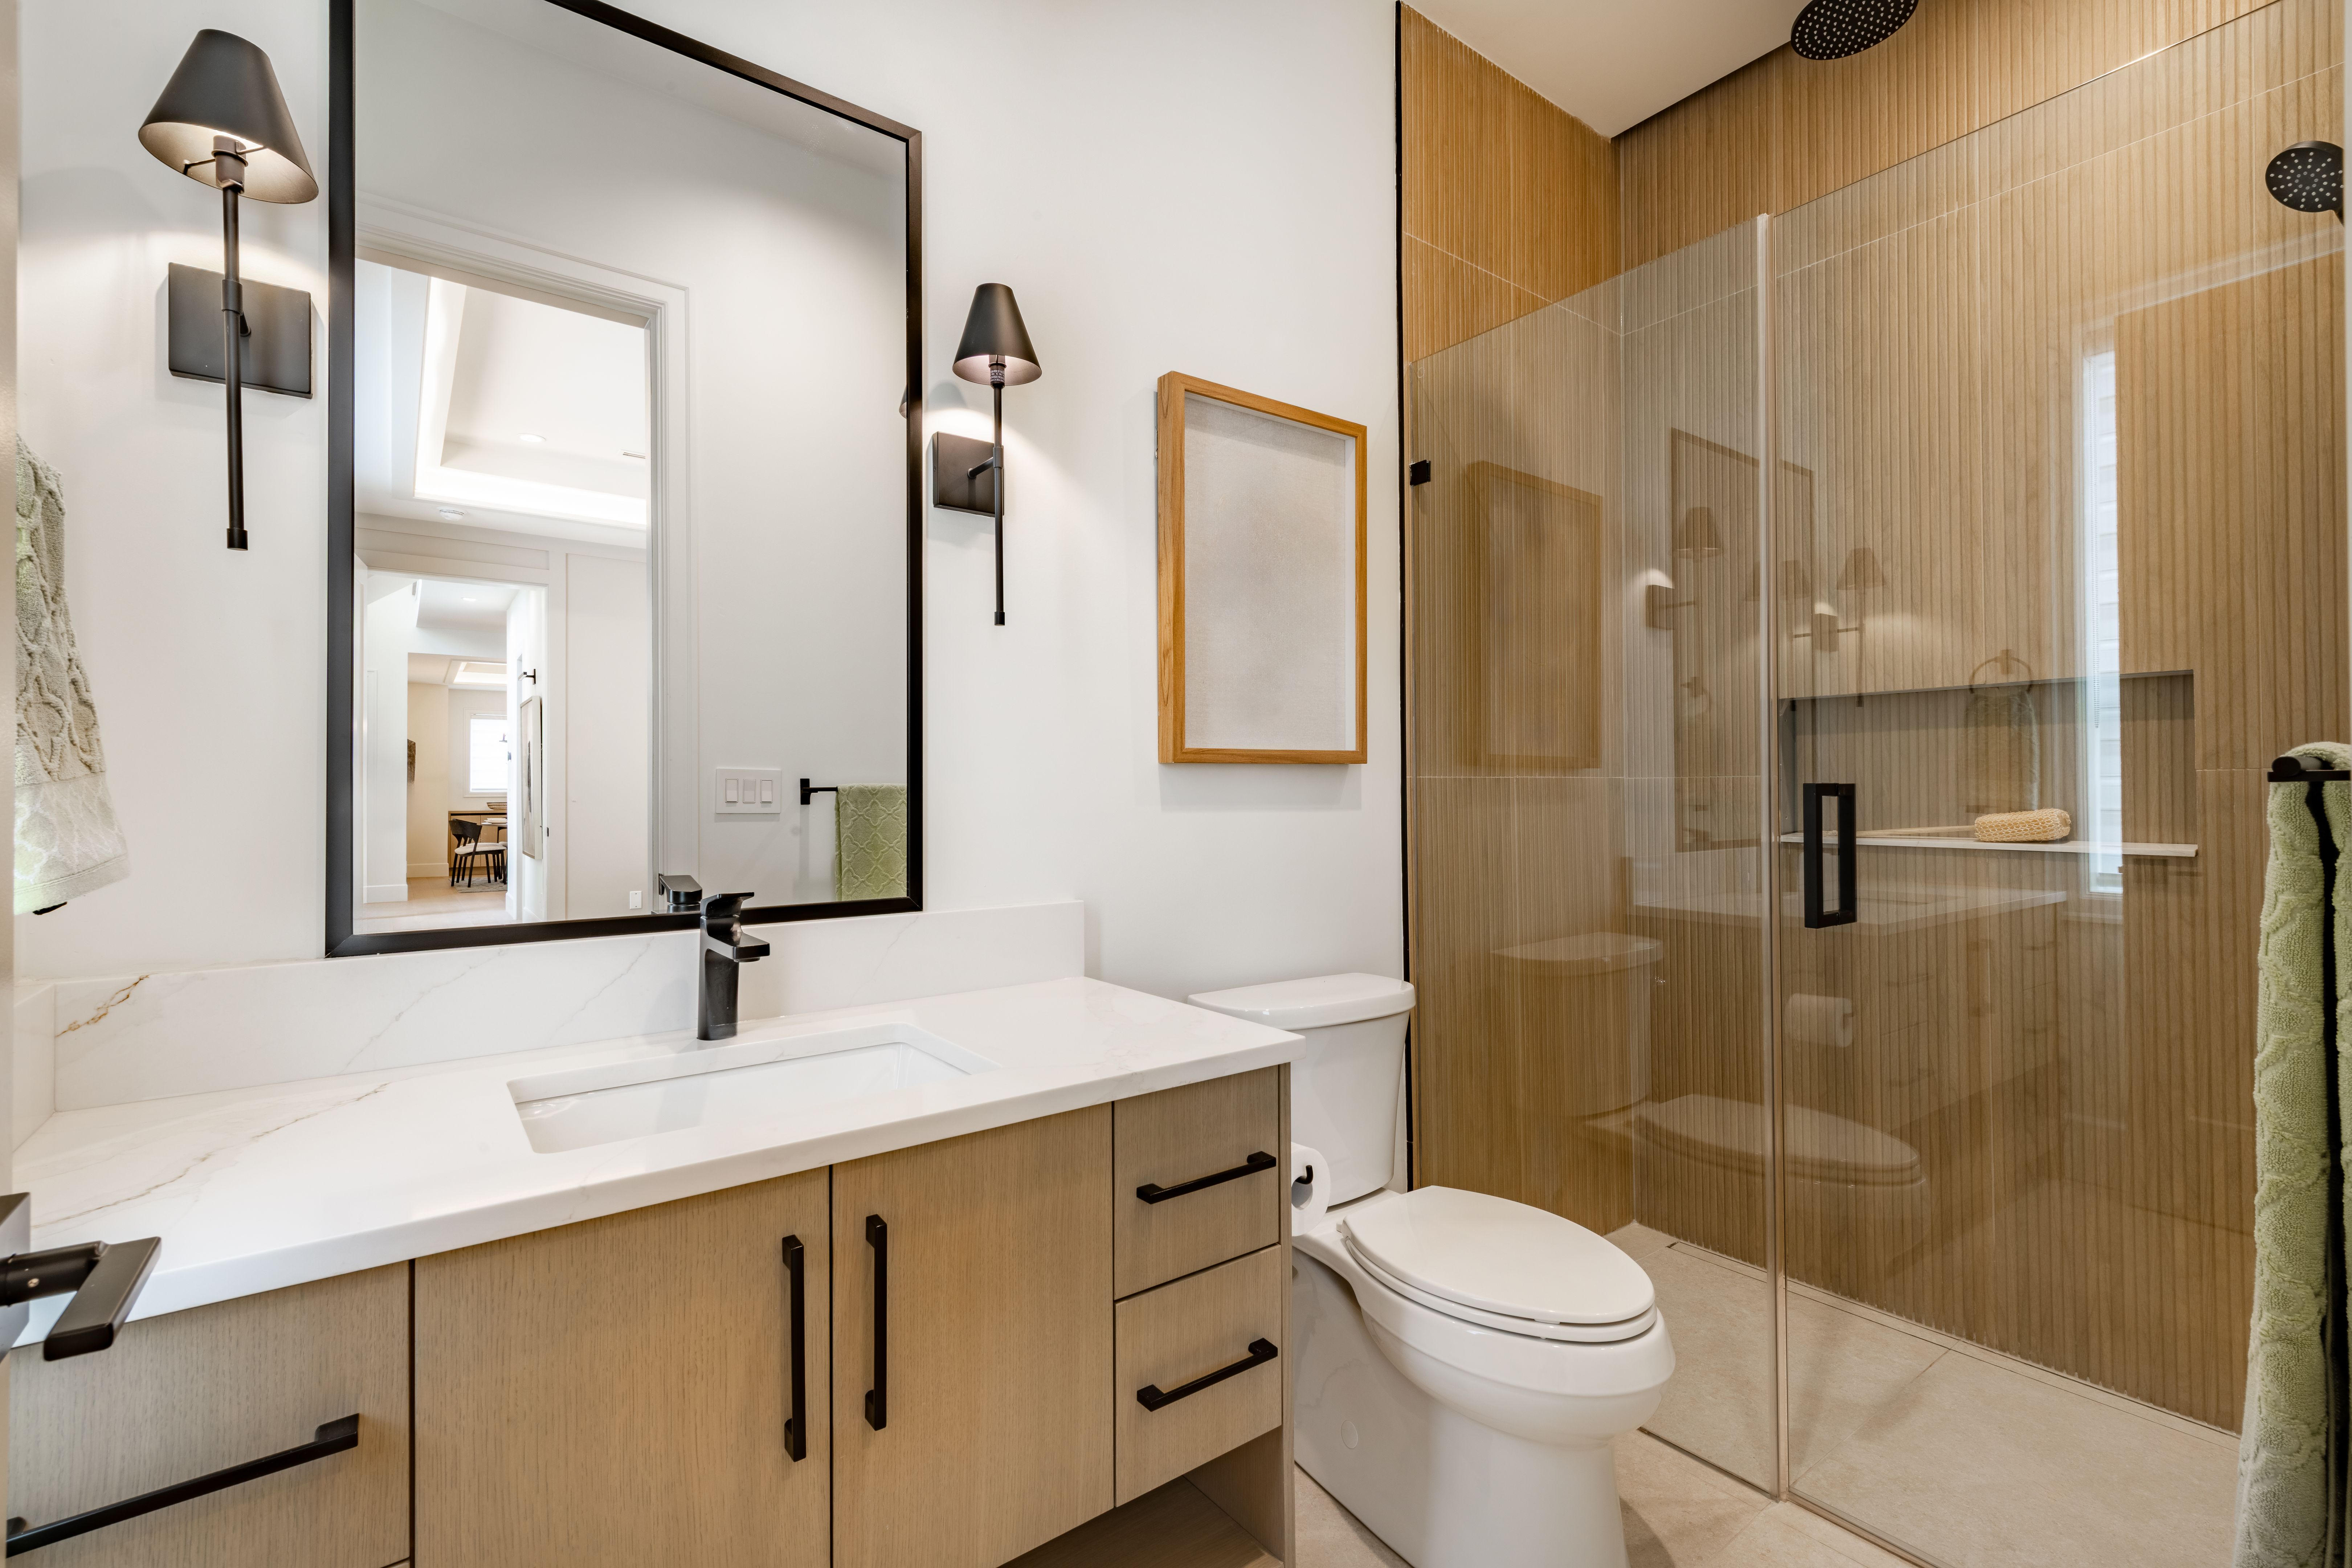
Final Touches and Inspection
With the bathtub installed, it’s time to add the final touches to your bathroom. Reinstall any tiles or fixtures that were removed during the process. Clean the area thoroughly to remove any dust or debris.
Conduct a thorough inspection to ensure everything is in place and functioning correctly. Turn on the water supply and test the plumbing for leaks. Finally, enjoy your newly transformed bathroom with its stylish and functional acrylic bathtub. Regular maintenance will keep it looking pristine for years to come.