Bathroom Tile Installation: A Step-by-Step Guide for Beginners
Introduction to Bathroom Tile Installation
Installing bathroom tiles can seem daunting, but with the right guidance, even beginners can achieve professional-looking results. Whether you're updating your bathroom or tackling a new project, this guide will walk you through the process step-by-step.

Gathering Your Tools and Materials
Before you start, ensure you have all the necessary tools and materials. You'll need tiles, adhesive, a notched trowel, a tile cutter, spacers, grout, and a sponge. Don't forget safety gear like gloves and goggles to protect yourself during the installation.
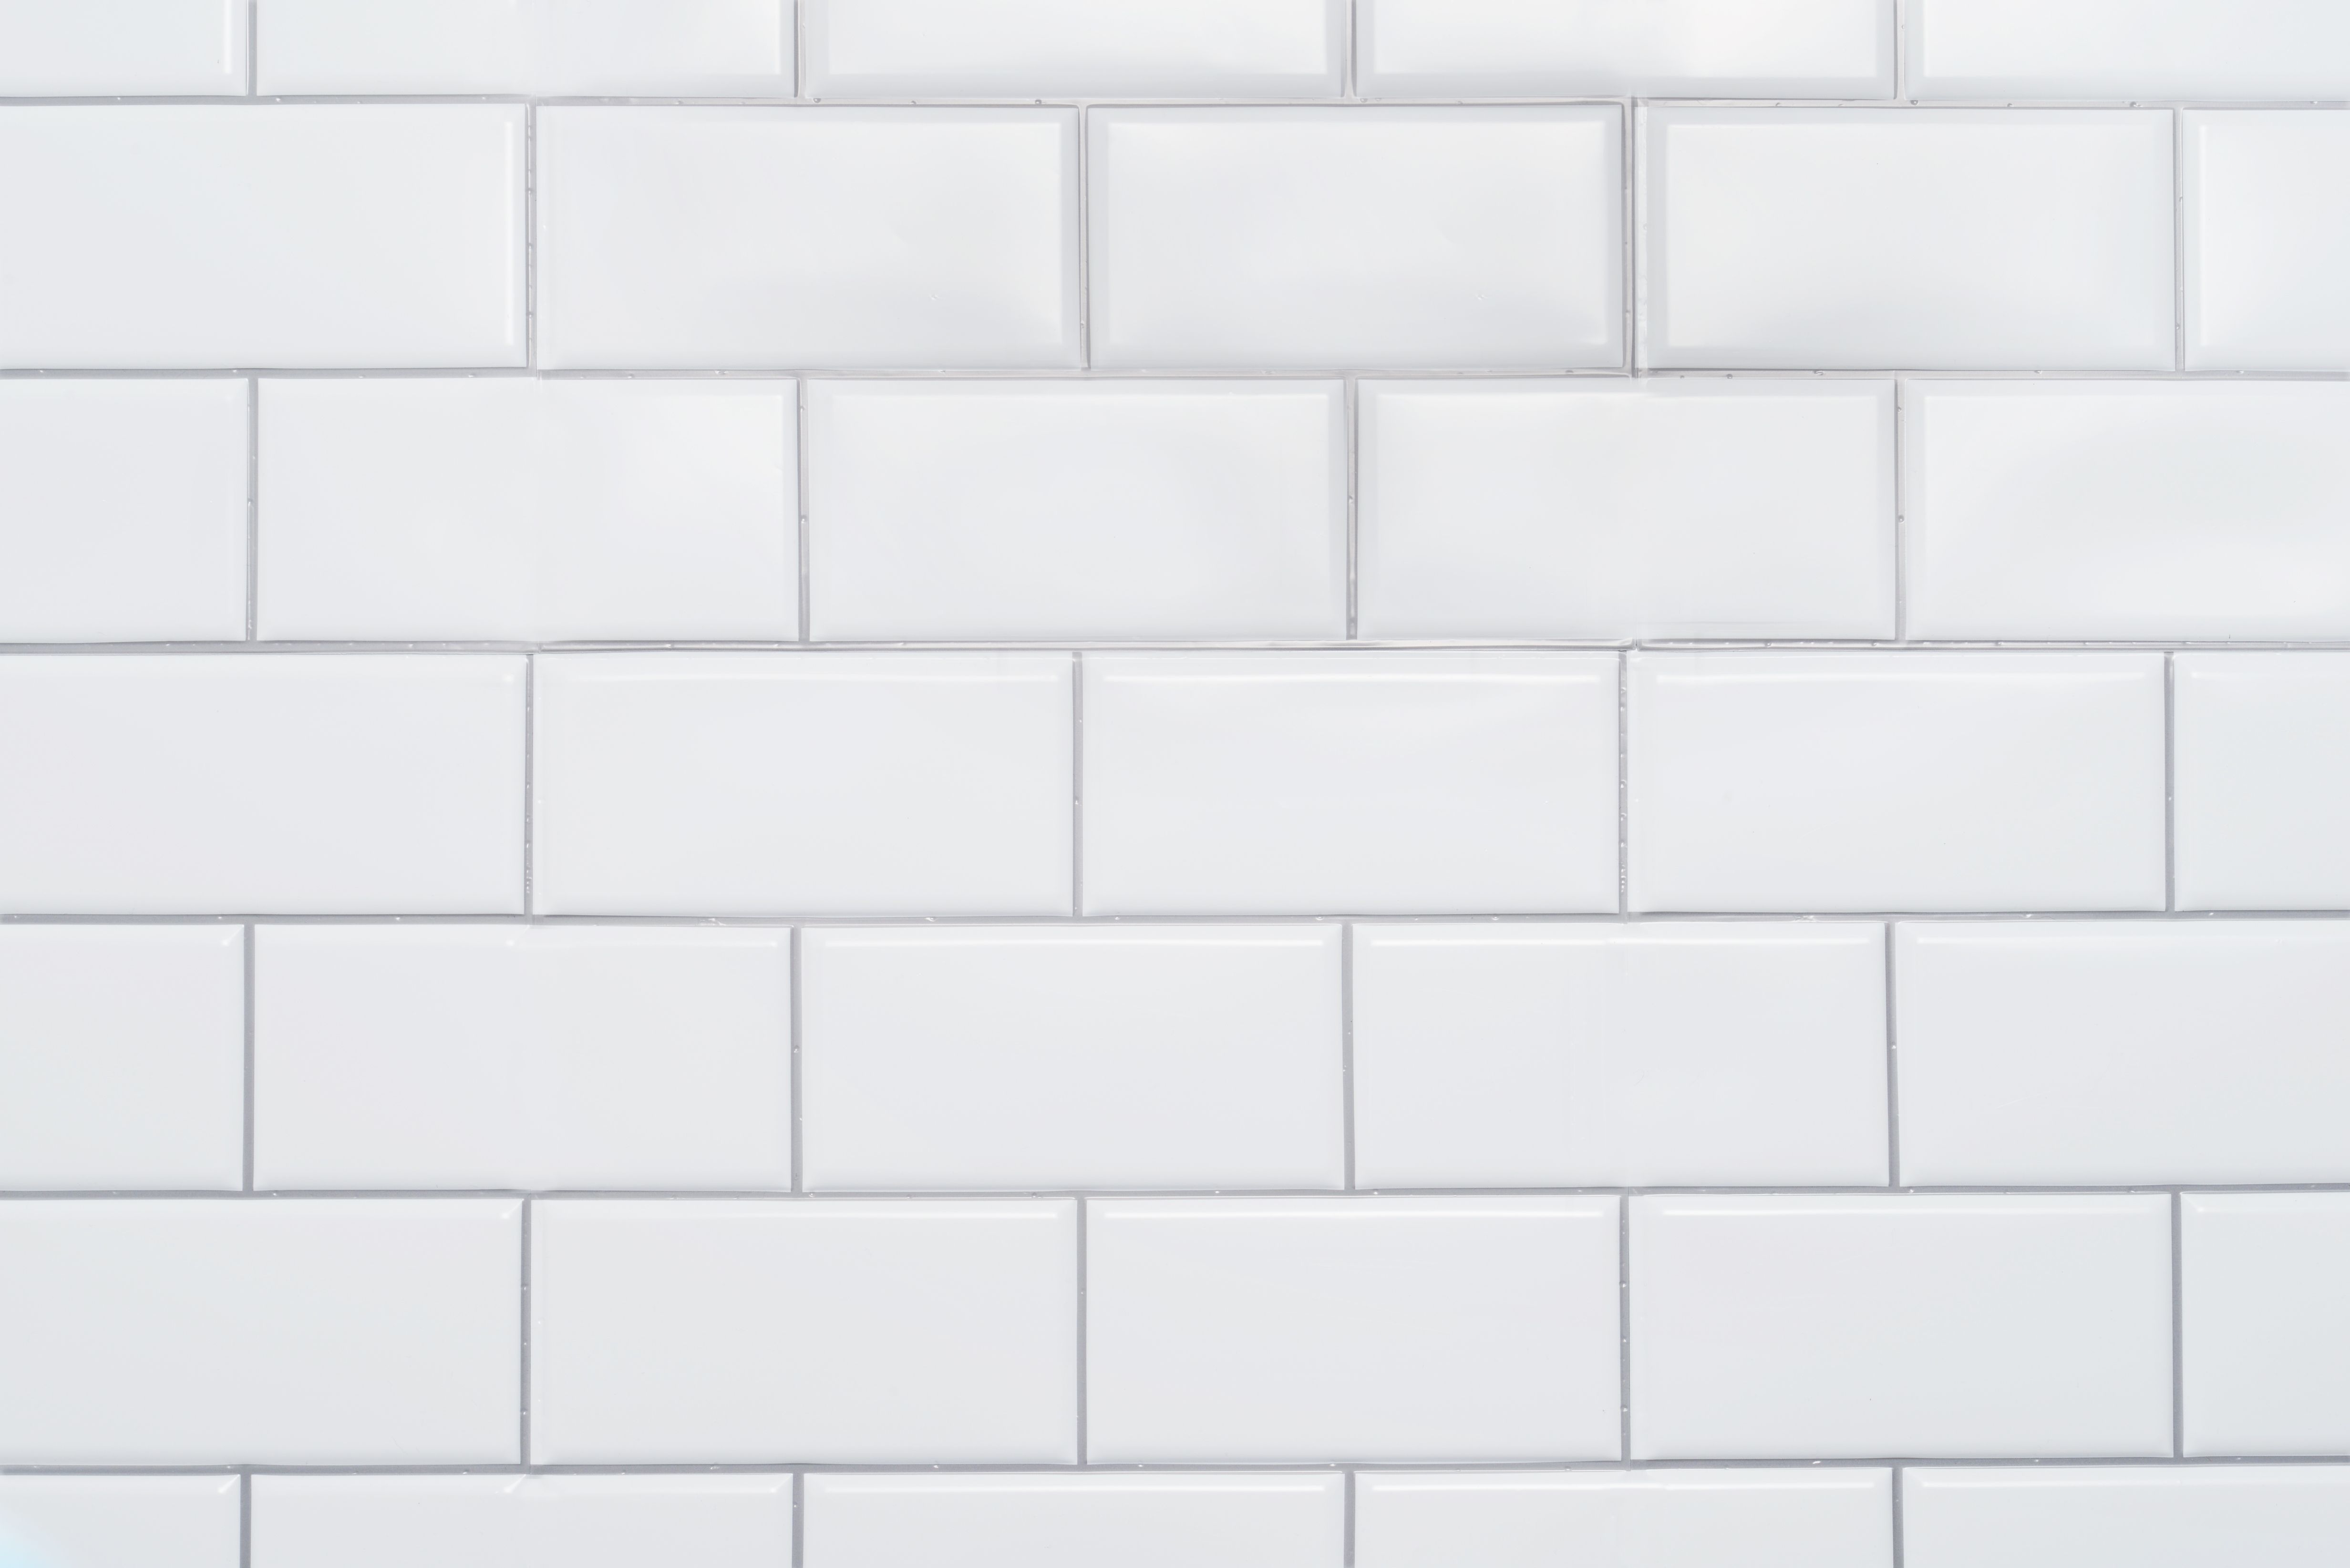
Choosing the right tiles is crucial. Consider the style, color, and durability of the tiles to ensure they suit your bathroom's design and function. Ceramic and porcelain tiles are popular choices due to their water resistance and longevity.
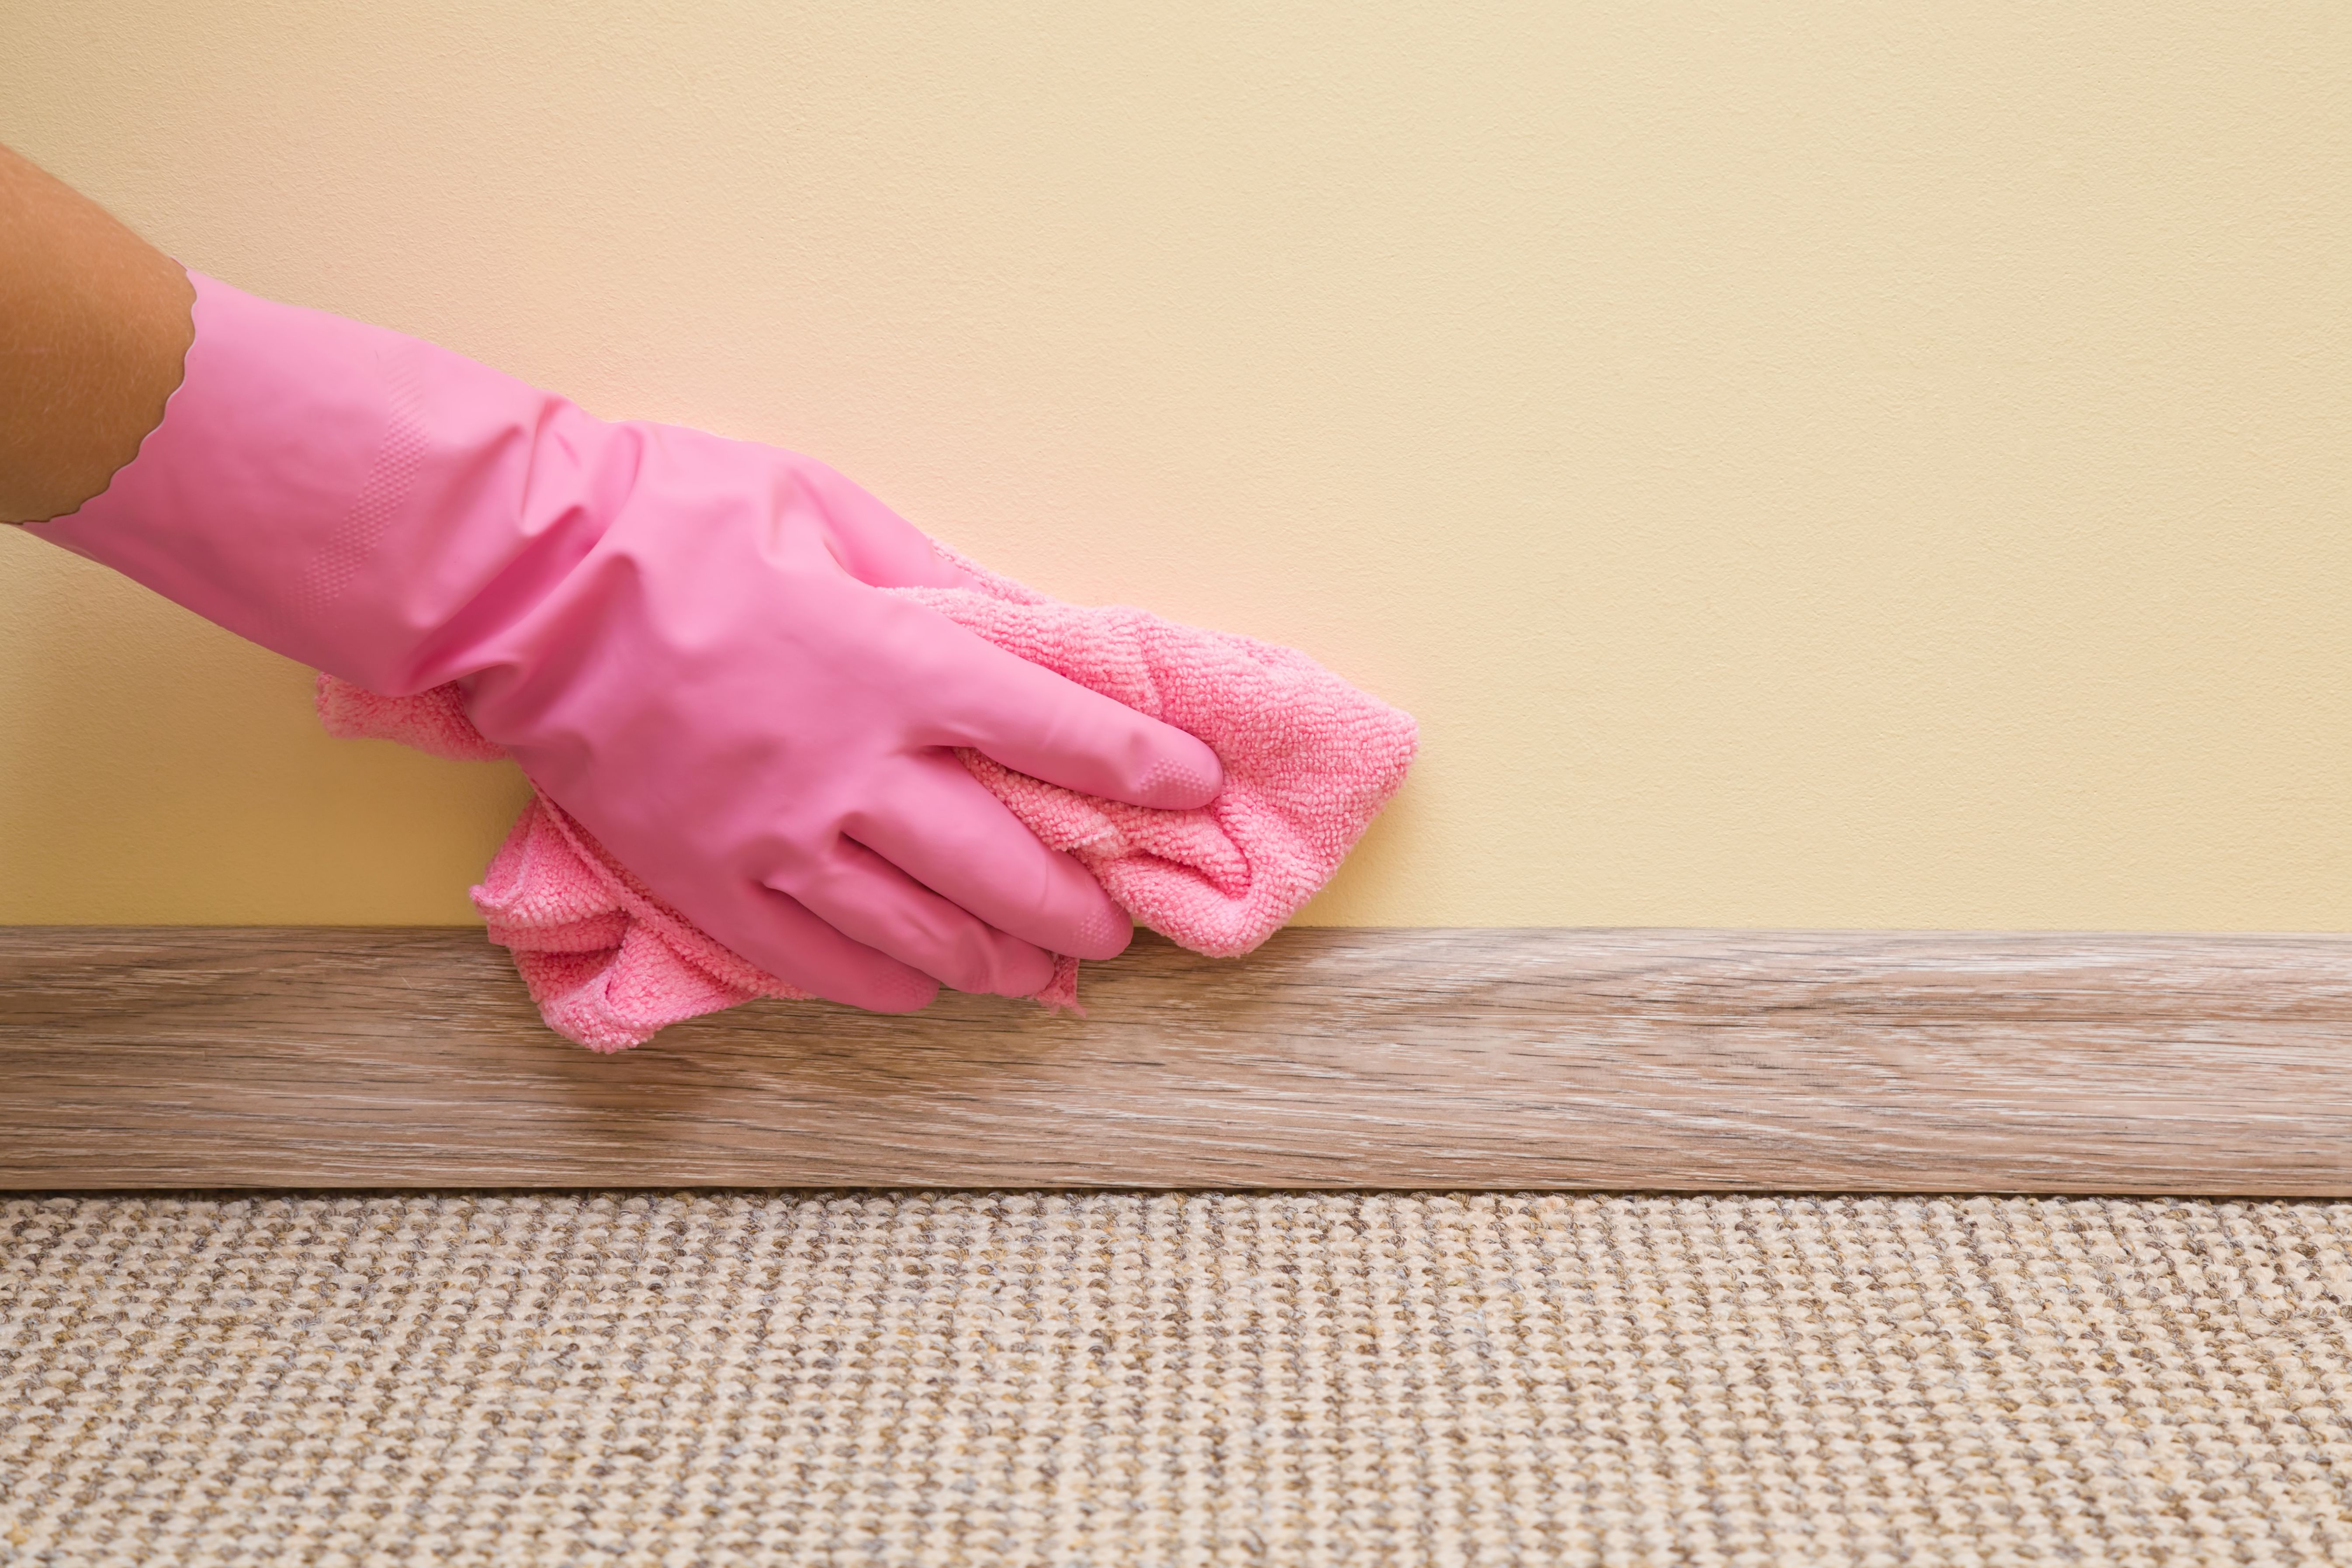
Preparing the Surface
Proper surface preparation is key to a successful installation. Start by cleaning the wall or floor where the tiles will be installed, ensuring it's smooth and free of debris. If necessary, apply a primer to enhance adhesive bonding.
Measure the area accurately to determine how many tiles you'll need. It's wise to purchase extra tiles to account for mistakes or future repairs. Lay out the tiles in a dry run to visualize the pattern and make any necessary adjustments.
Applying the Adhesive
With your surface prepared, it's time to apply the adhesive. Use a notched trowel to spread the adhesive evenly across a small section of the wall or floor. Work in sections to prevent the adhesive from drying out before the tiles are in place.
Press each tile firmly into the adhesive, using spacers to maintain consistent gaps between tiles. This ensures even grout lines and a professional finish.

Cutting and Placing Tiles
As you reach edges or obstacles like pipes, you'll need to cut tiles to fit. A tile cutter or wet saw can make precise cuts. Measure carefully to avoid wasting tiles and ensure a snug fit.
Continue laying tiles, cutting and adjusting as needed, until the entire area is covered. Allow the adhesive to set as per the manufacturer's instructions before proceeding to the next step.
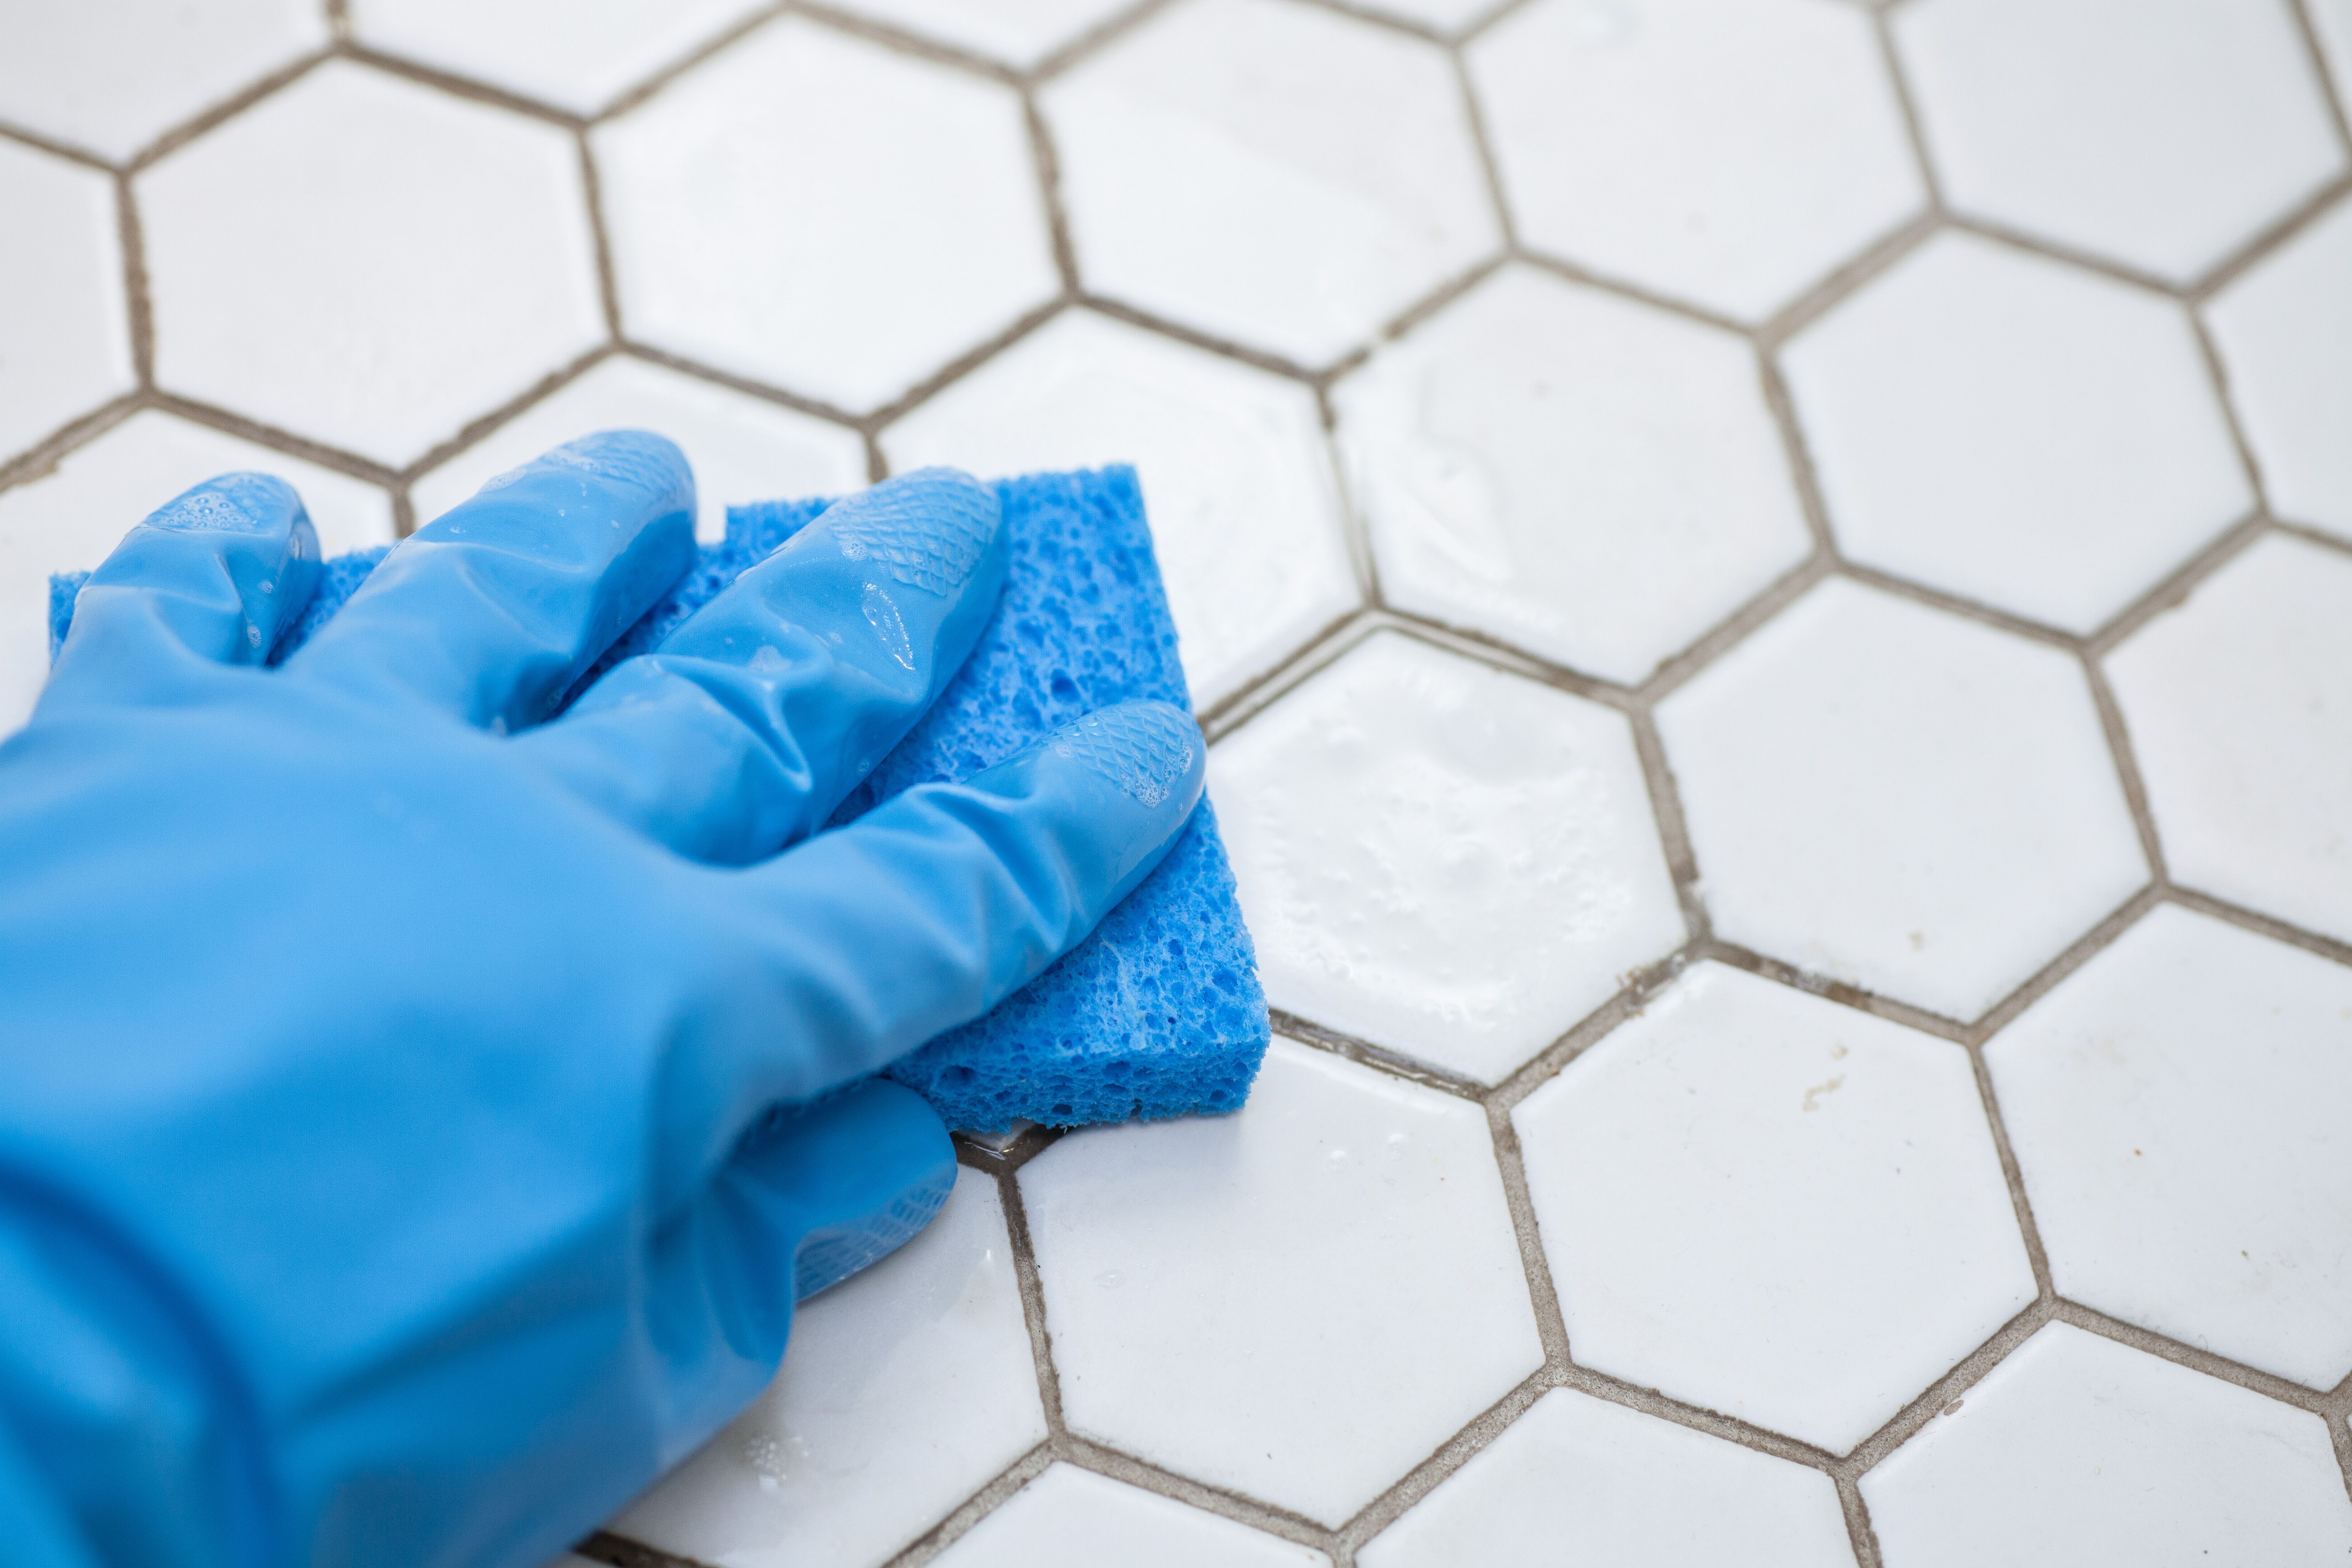
Grouting the Tiles
Once the adhesive has set, remove the spacers and prepare the grout. Apply the grout using a rubber float, pressing it into the gaps between the tiles. Work in small sections to prevent the grout from drying too quickly.
After applying the grout, use a damp sponge to wipe away excess, ensuring the tiles are clean and grout lines are smooth. Allow the grout to cure according to the manufacturer's instructions.
Finishing Touches
With the grout cured, inspect your work for any imperfections. Touch up grout lines if necessary and clean the tiles thoroughly to remove any remaining grout haze.
To protect your new installation, consider applying a sealant to the grout lines. This helps prevent moisture penetration and extends the life of your tiles.
Enjoying Your New Bathroom
Congratulations on completing your bathroom tile installation! With a little patience and attention to detail, you've transformed your space into a beautiful and functional area. Enjoy the fruits of your labor and the fresh look of your bathroom.